On your computer, click the Finder icon on your Dock (looks like a blue smiley face).

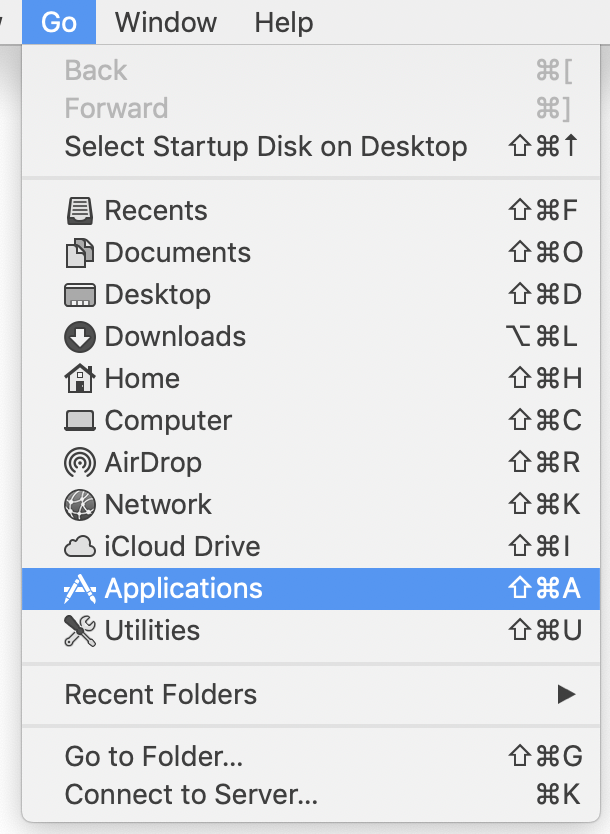
At the top of your screen, click the Go menu and choose Applications.
The school installs Microsoft Outlook by default on all student and employee computers. Locate the Microsoft Outlook icon.
You may wish to drag this icon onto your Dock so it is always available.
Launch Microsoft Outlook.
If you don't have Microsoft Outlook installed, you should run Managed Software Center to ensure you have all school software installed correctly. If you are off campus and wish to install Outlook manually on your personal computer, you may visit the Microsoft Mac Downloads page and download either the Outlook 365/2019 Standalone Installer or Office 365/2019 Suite Installer (which includes Word, Excel, PowerPoint, and Outlook).

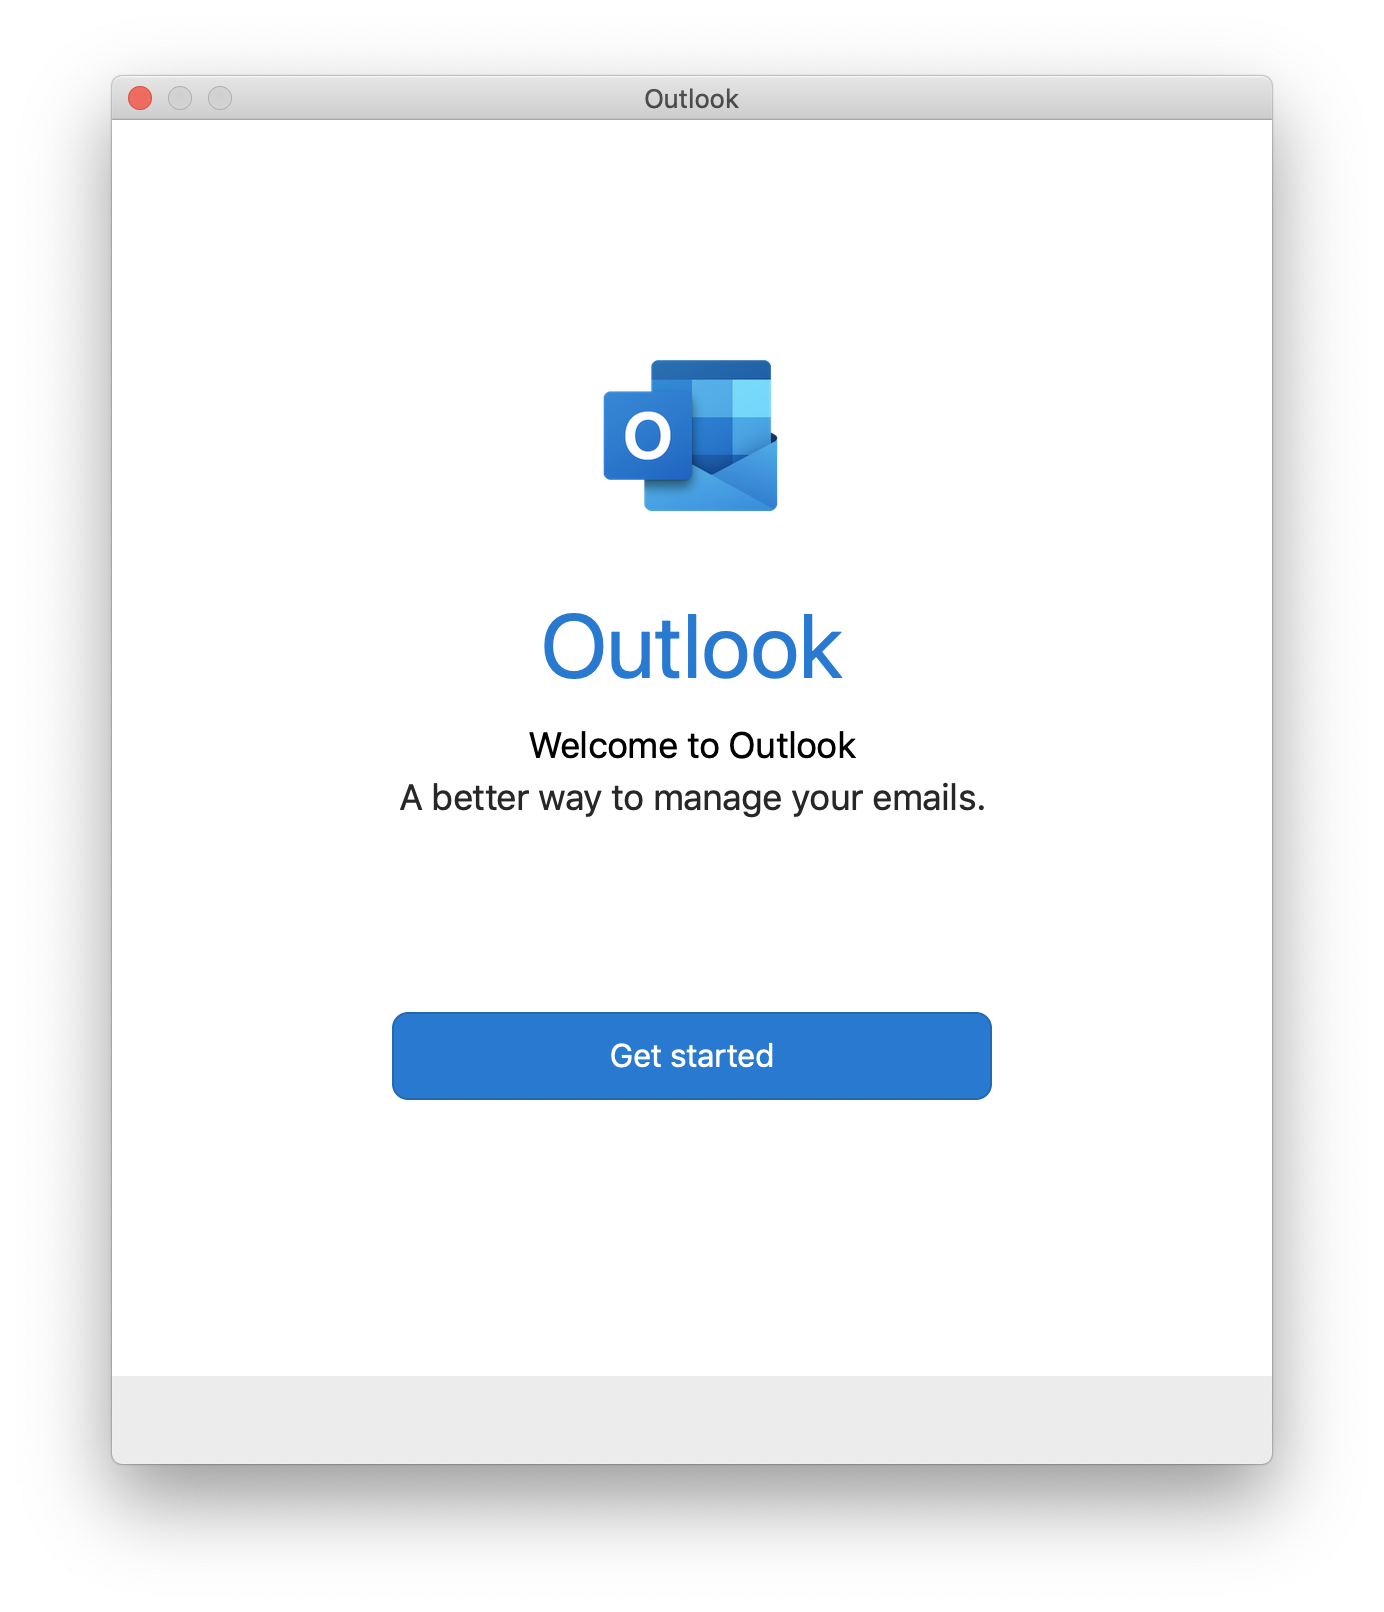
If this is the first time you've used an Office application on the computer, you may see a screen mentioning activation or installation that looks like this one. Click the Get started button if prompted.
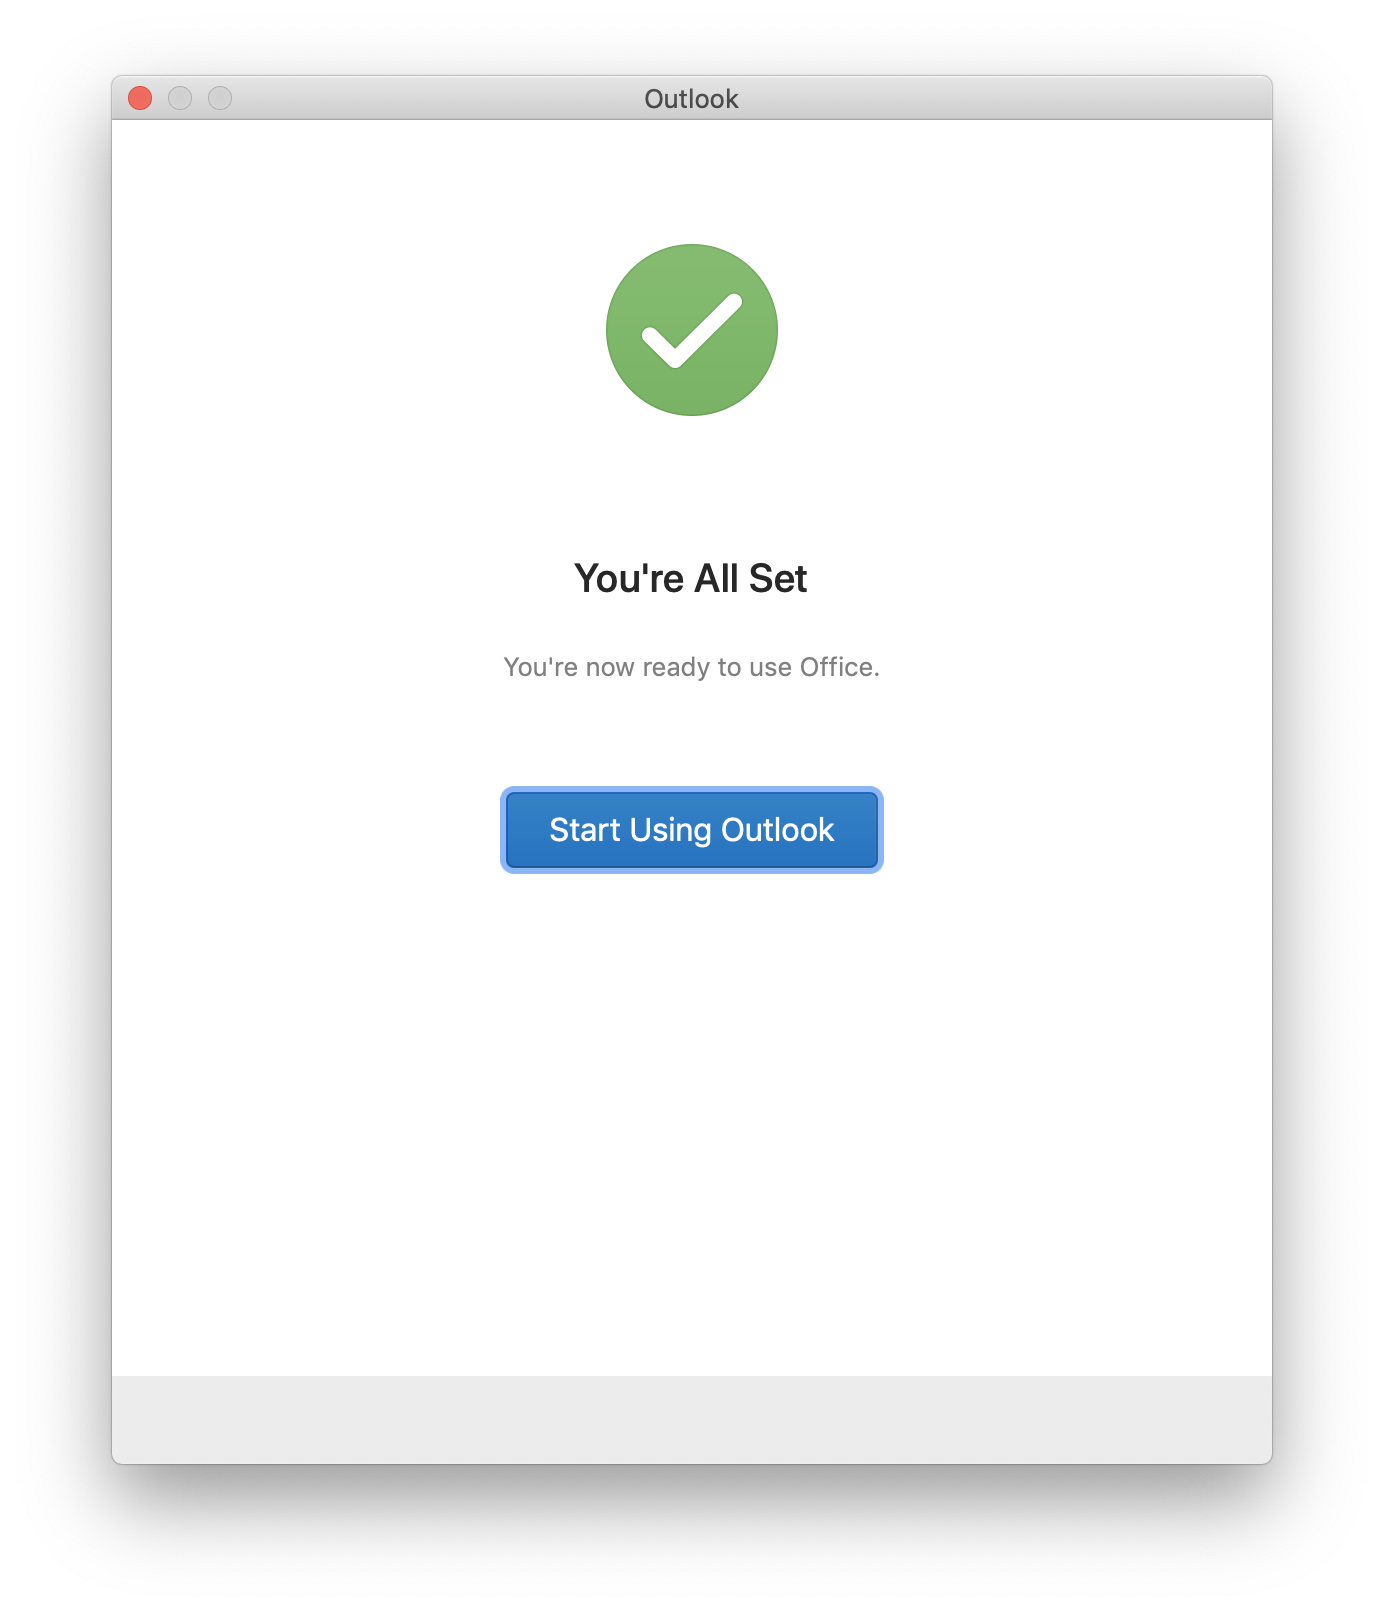
If Outlook was installed through Managed Software Center, you should get a screen saying "You're All Set". Click the Start Using Outlook button.
If you get a message saying that Office isn't activated, click Log In. You'll get screens similar to those below where you log in, and the process will be nearly the same.
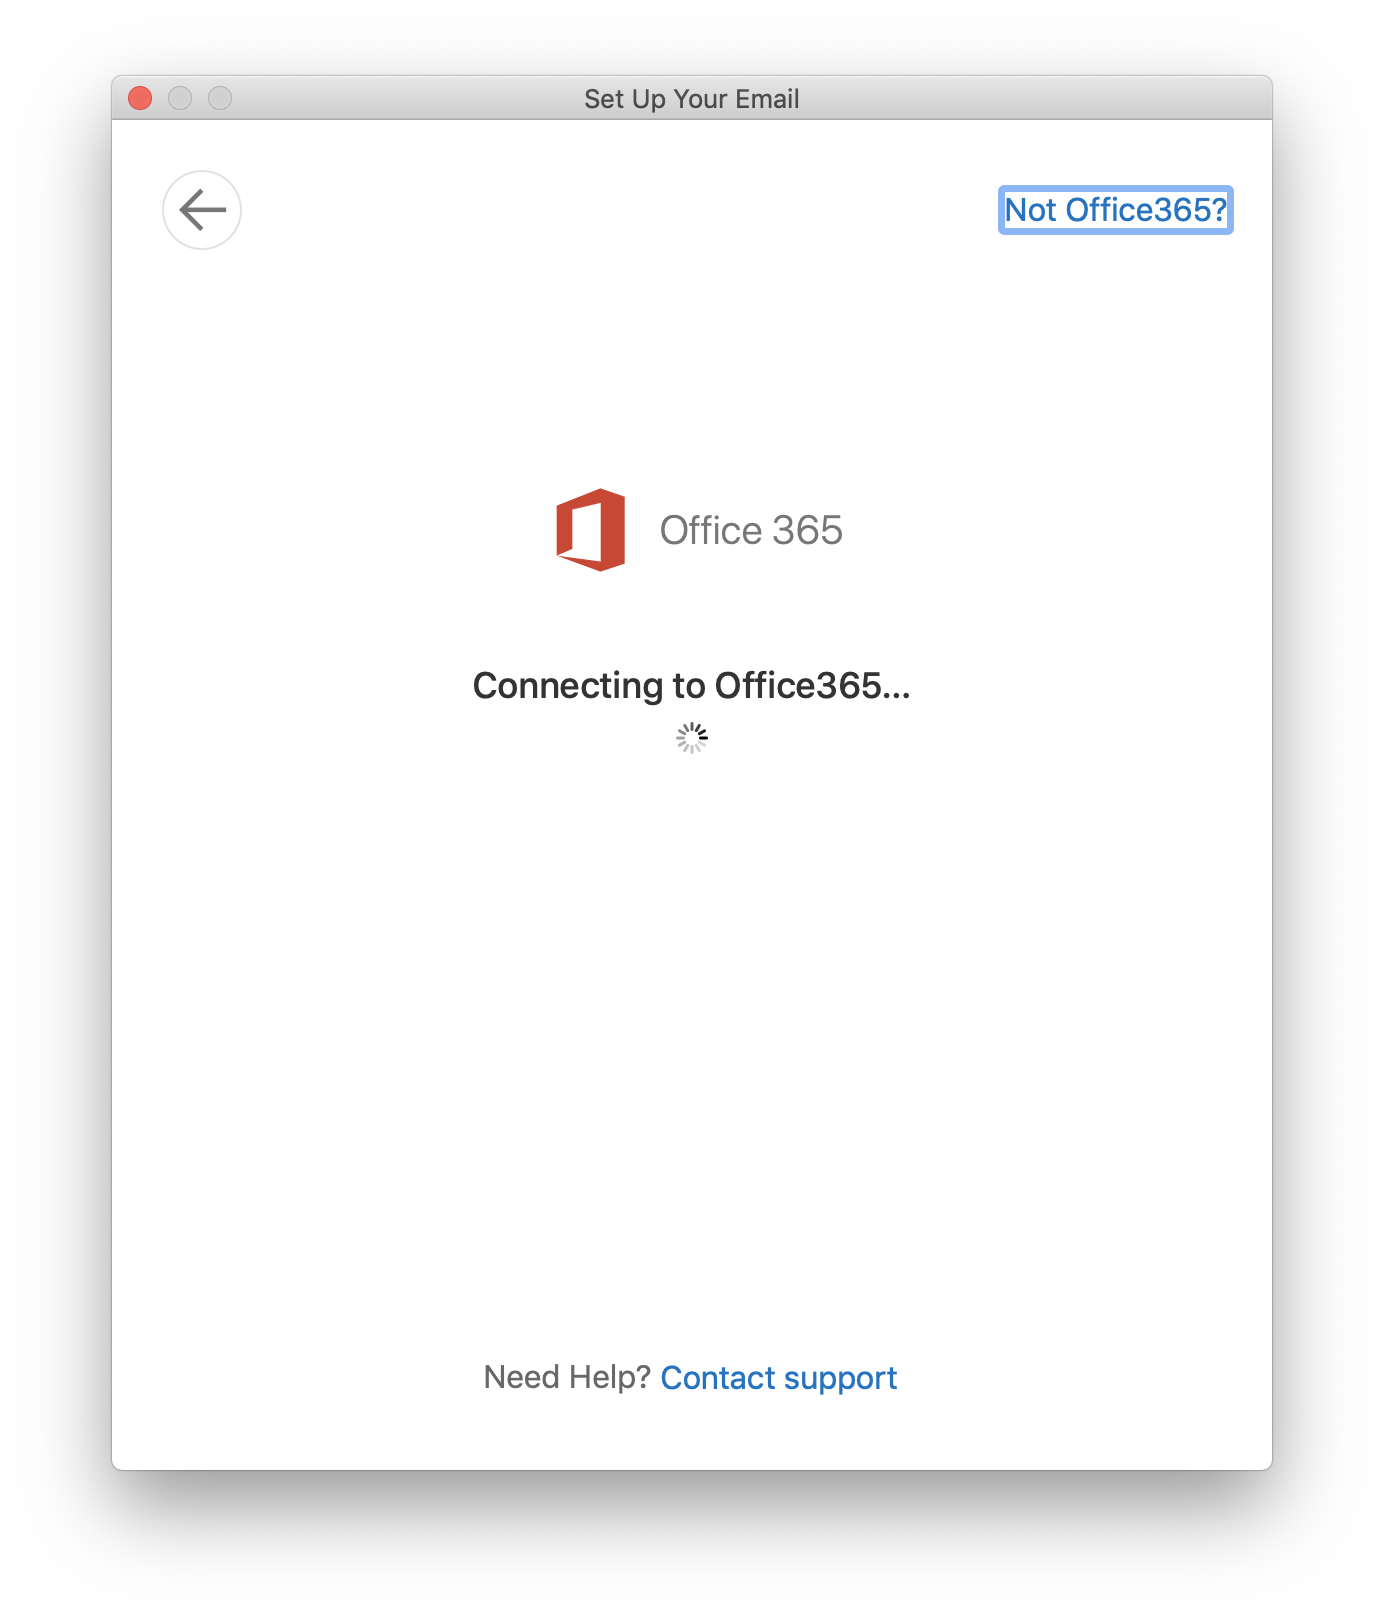
You'll be prompted to enter your email address. Enter your school-provided email address (ending in "suffieldacademy.org") here and click Continue.

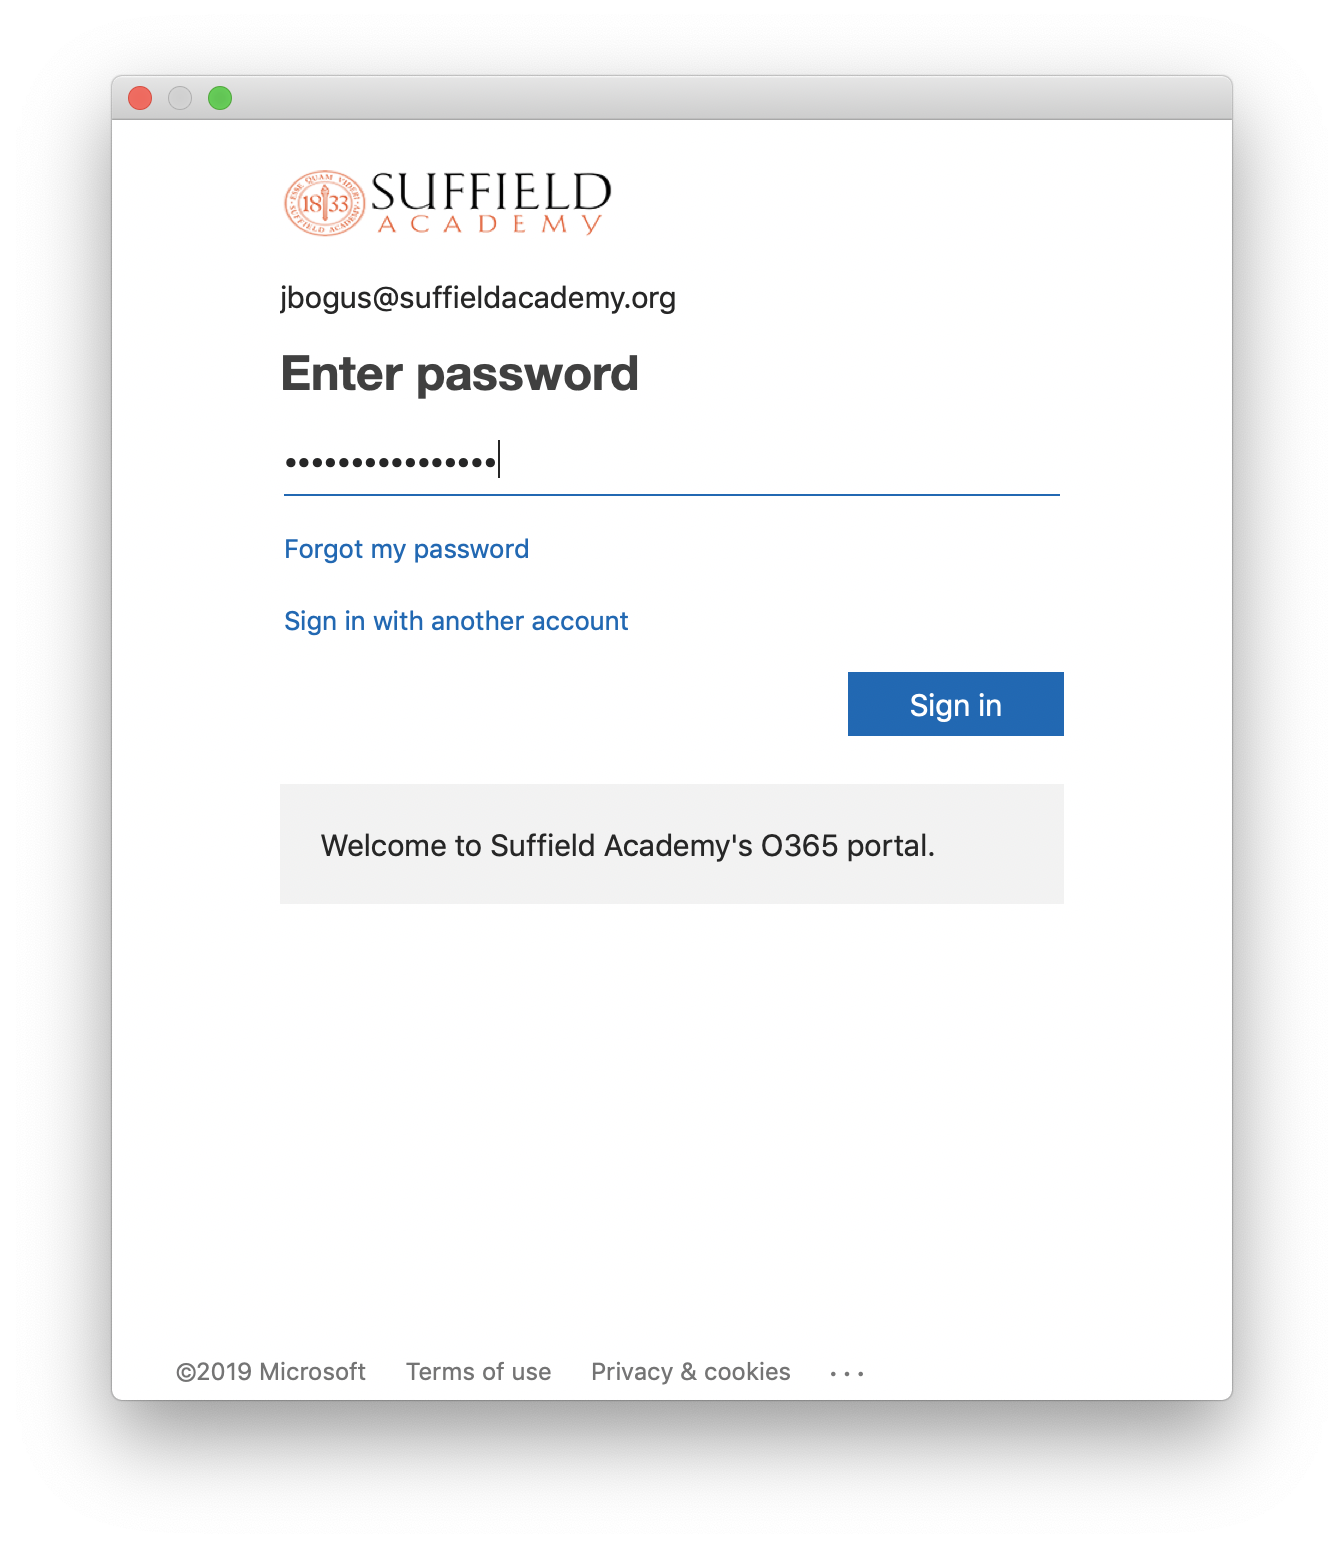
An Office 365 login screen will appear, and then a password prompt will open. Confirm that the Suffield Academy logo is present (this is a security measure to ensure you aren't logging on to a fake site), and then enter your password. Click the Sign in button when done.
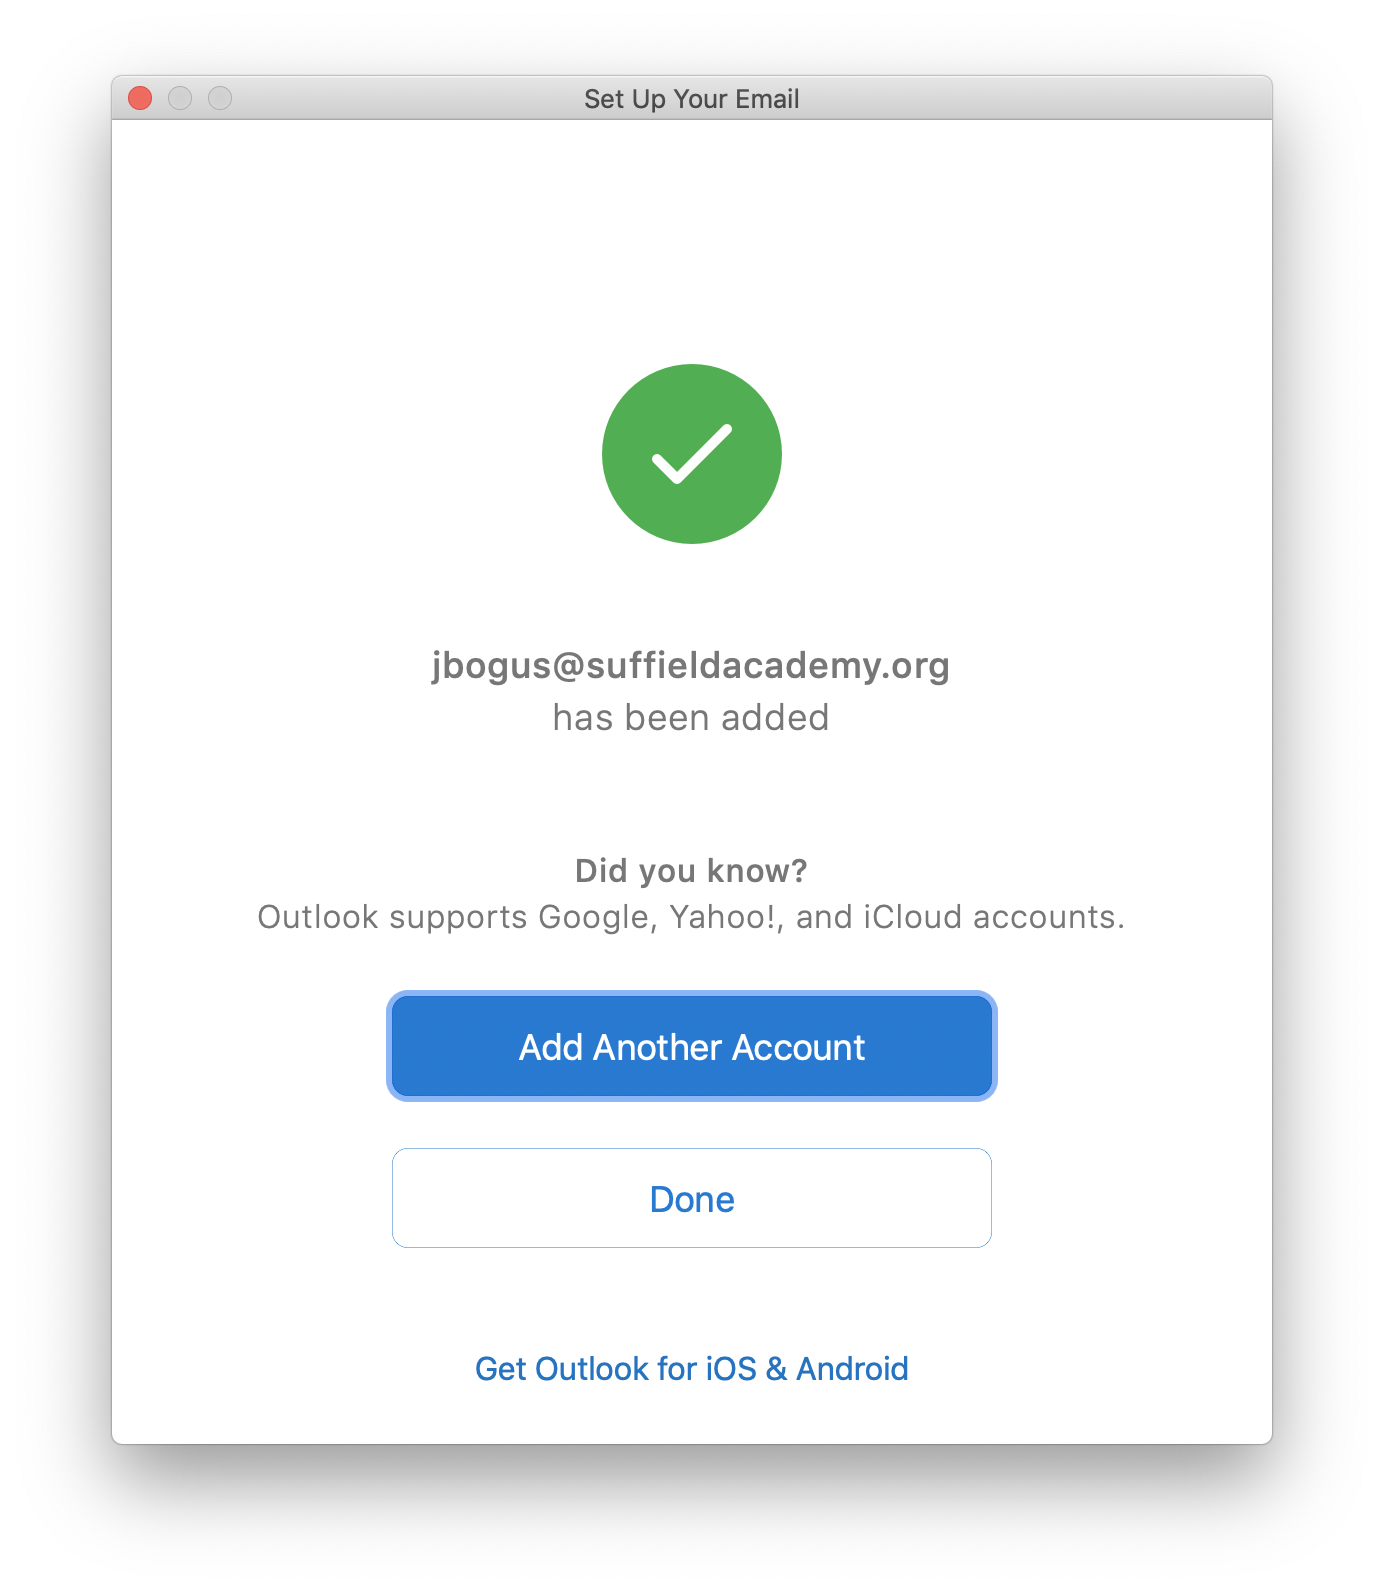
You should receive confirmation that the account has been authenticated and added. At this point you can click the Done button (we don't recommend adding non-school accounts to Outlook).
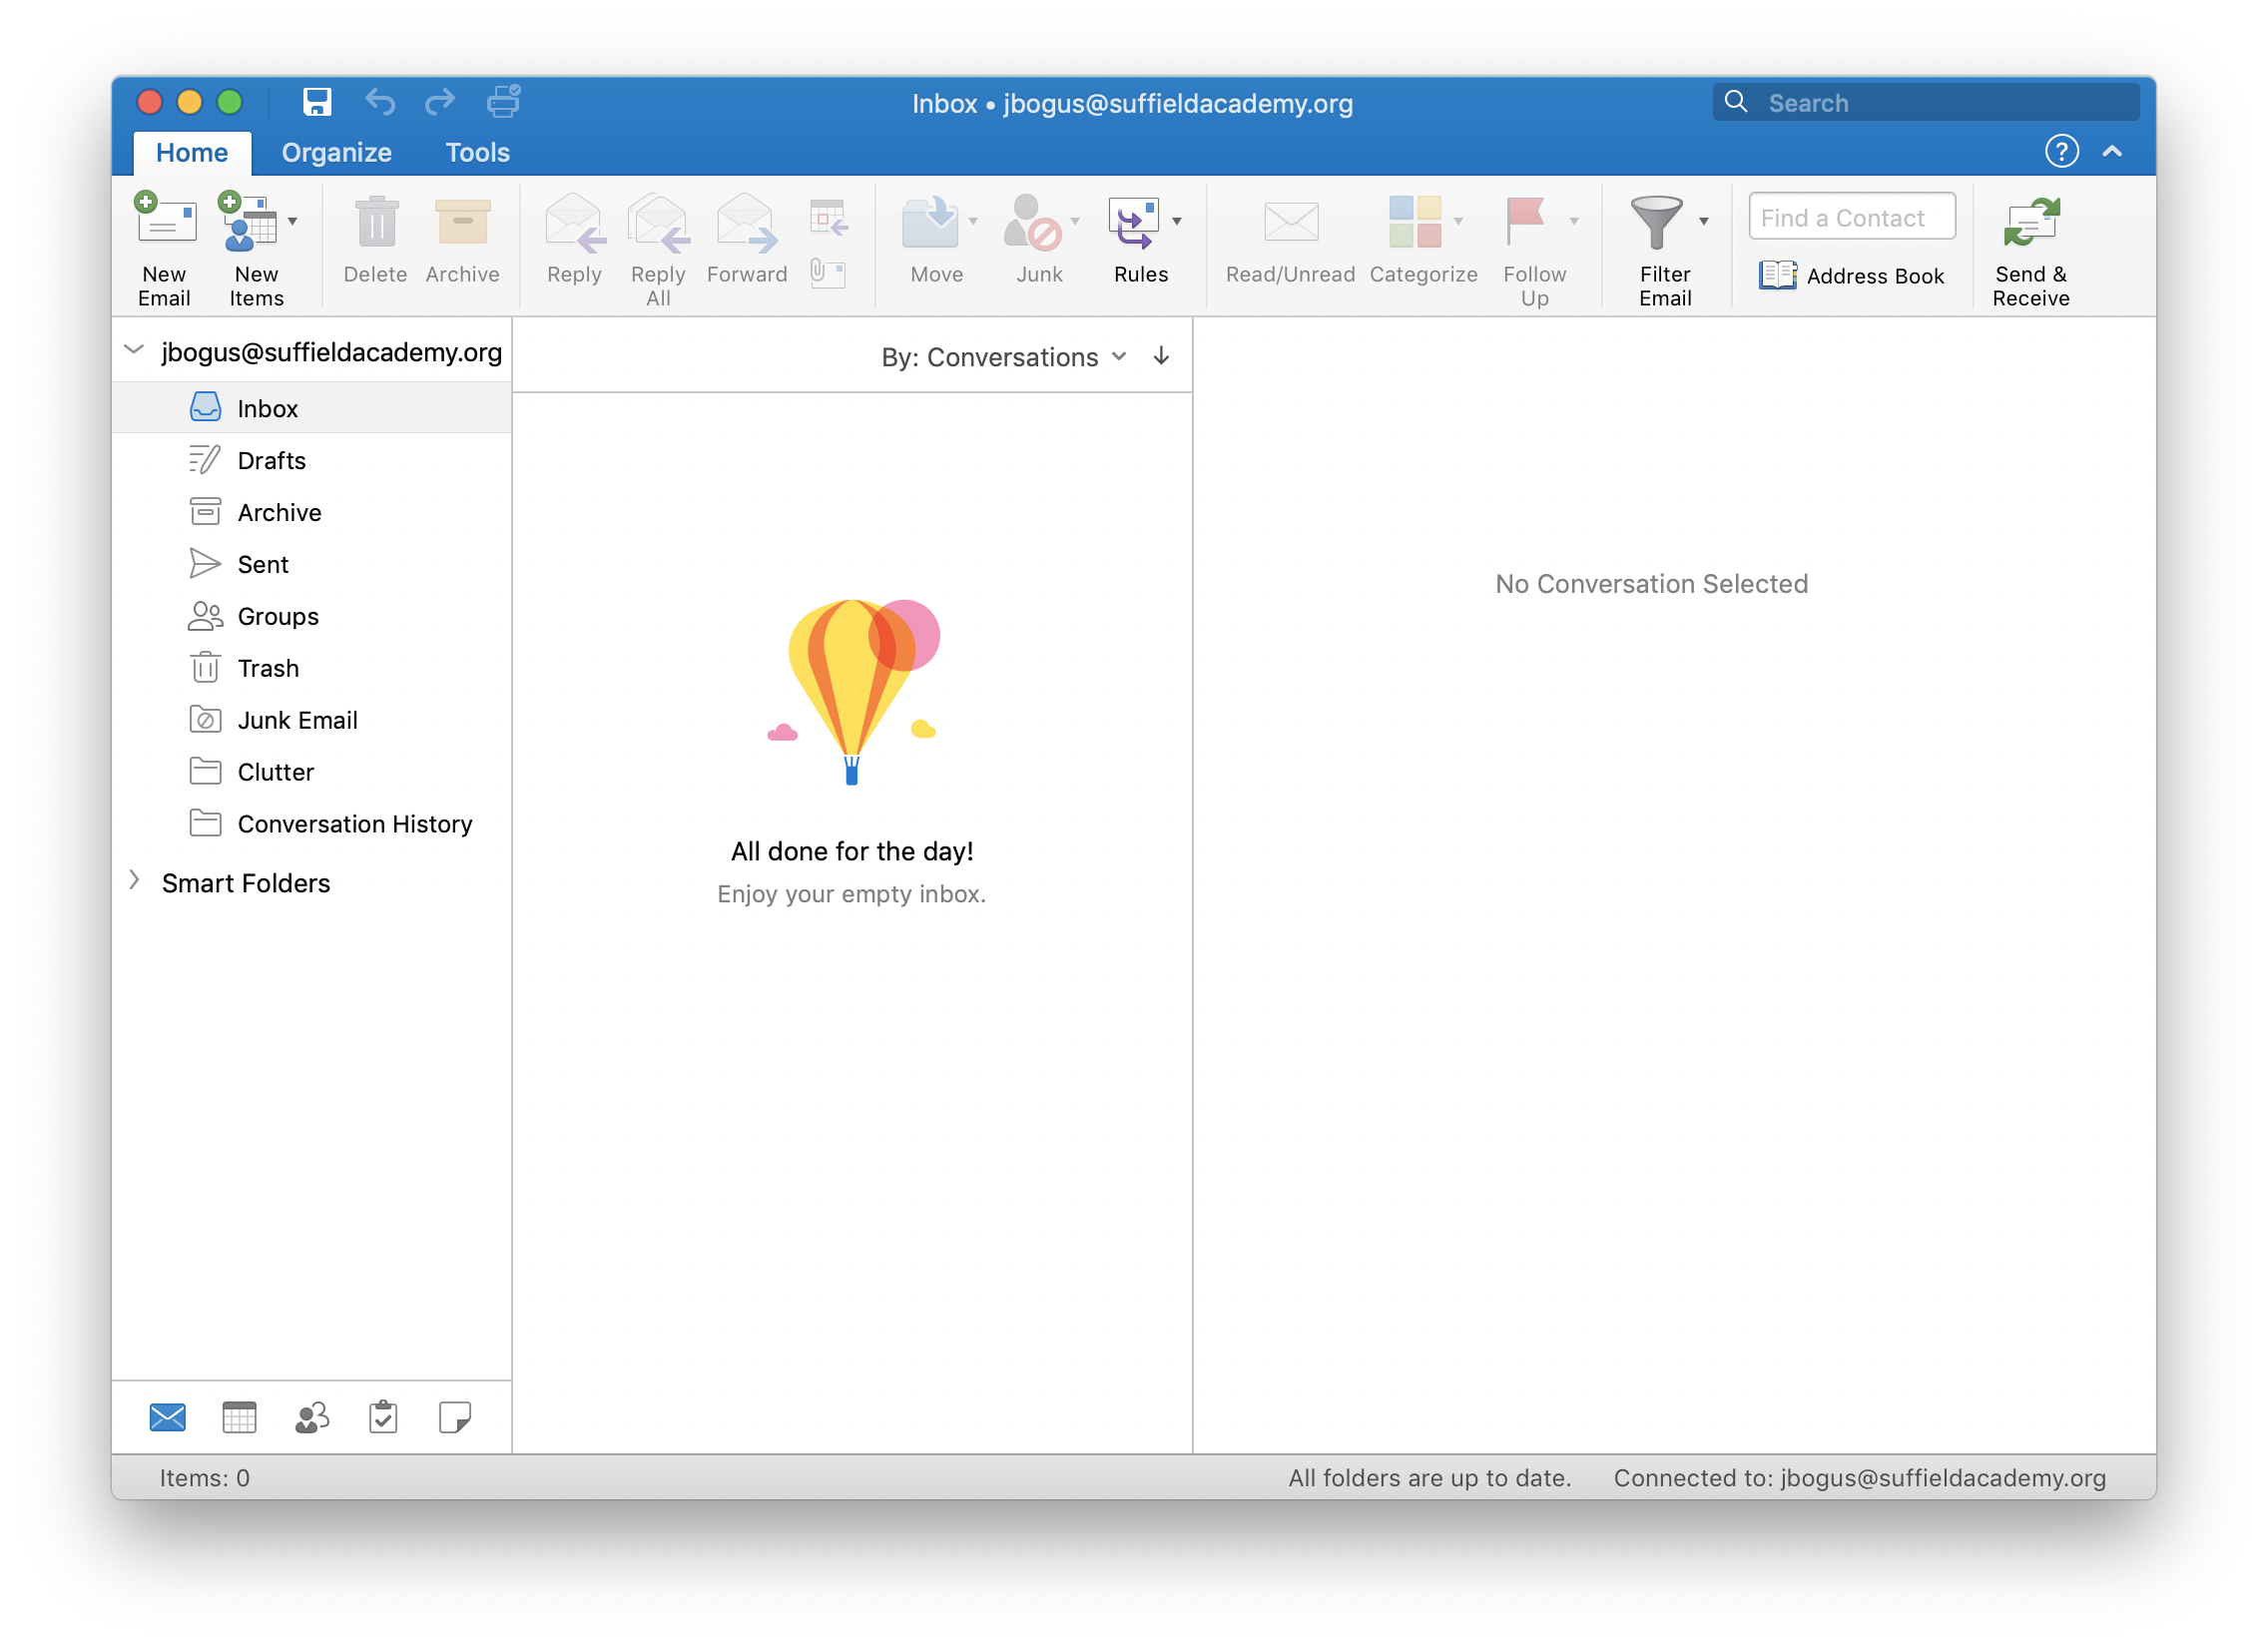
You should arrive at your school inbox in Outlook. You're ready to send and receive mail!